Convert Low-Resolution Images to High-Resolution in Photoshop CC
Many times as a graphic designer, clients will send low-resolution images to use in a project. You may want to retake the image with better equipment, but that may not be possible. The only way out is to try to convert the low-resolution image to high-resolution using photoshop. Photoshop CC can use Artificial Intelligence and Machine Learning to make the process easy. The process is easier and the results are better when the image has a better quality to start with. The lower the quality of the original image, the less success there will be with the final result.
1] Introduction
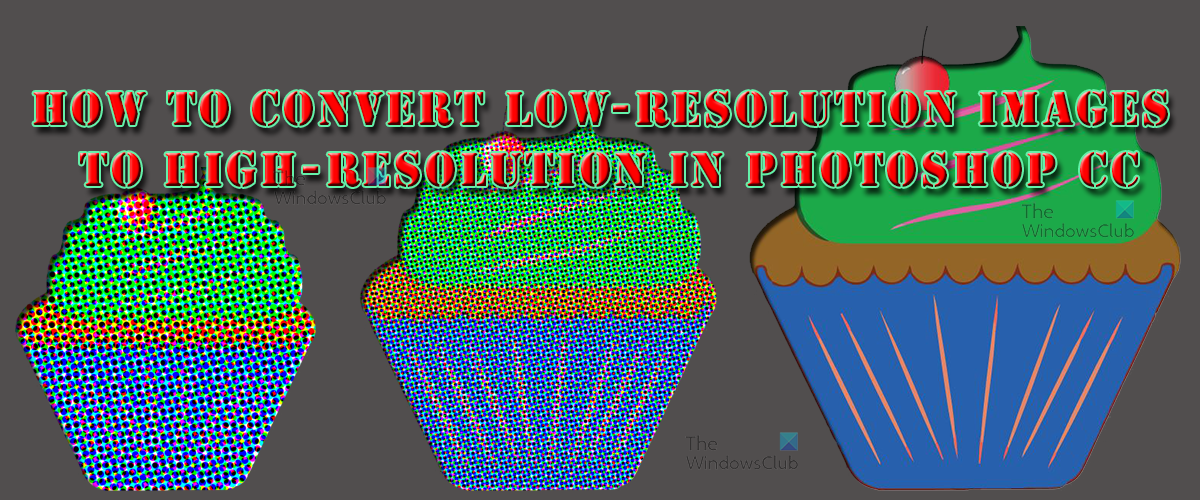
In the past, one way to try and increase the resolution of an image was to increase its size, however, this would lower the quality. Photoshop CC now offers the ability to increase the resolution of your image while preserving the visual quality. Features like Super Resolution can quadruple the size of your photos using AI, giving you the clean edges and detail you need to make the most of any image.
2] Resampling
Every digital image has a certain number of pixels. The more pixels an image starts with, the higher the resolution. When you add or subtract pixels from an image in Photoshop, that’s called resampling.
How Resampling affects resolution
Decreasing the number of pixels is called downsampling, which removes data from your image. Increasing the number of pixels is called upsampling, which adds data to the image. When you increase the number of pixels in an image without adjusting the dimensions, you are adding more pixels into the same amount of space and increasing the resolution (or amount of detail) held within each inch. You can downsample images to save storage space or make load times faster for online images. Upsampling is trickier, however, since Photoshop has to guess how newly added pixels should look.
Resampling With Artificial Intelligence and Machine Learning
Artificial intelligence (AI) and Machine Learning (ML) comes in handy in resampling images correctly. With Super Resolution in Photoshop, you can dramatically increase image resolution while keeping image quality in good shape.
3] Adjusting resolution
You can use Super Resolution in Photoshop. After you apply Super Resolution, try fine-tuning your picture with Sharpening, Noise Reduction, and Texture to get it exactly how you want it. This is a way to get more control over the finished product, using AI and your own design skills. When you need to make a big change to the size of your original image, or you have to add a specific number of new pixels. That’s when traditional resampling is your best choice. Whether you resample or use Super Resolution as your first step, this process can help you create whatever image sizes and resolutions you need.
4] The Conversion
There are two methods you can try. Use the first to change image size and number of pixels independently, or go with the second method to only change one at a time and have Photoshop do the rest for you.
Change resolution by adjusting pixel dimensions
If you have specific needs for the dimensions or size of your image — like a poster at a certain print size — check the Resample box. This allows you to adjust the print size and resolution independently, which changes the number of pixels in the image. Get started with these steps.
Open your image in Photoshop.Choose Image › Image Size.To maintain the current ratio of Width to Height, be sure the chain icon linking these properties is activated.Under Dimensions, enter values for Width and Height. The new file size for the image appears at the top of the Image Size dialog box, with the old file size in parentheses.Select Resample and choose an interpolation method.If your image has layers with styles applied to them, select Scale Styles under the gear icon to scale the effects. (This option is available only if you selected Constrain Proportions.)When you finish selecting options, click OK to resample your resized image.
Change print dimensions without adjusting pixel dimensions.
See if you can achieve a high-quality print by adjusting only the dimension or resolution without changing pixel count. Photoshop will automatically change the other value for you, keeping the aspect ratio and the number of pixels the same. Follow these steps.
Open your image in Photoshop.Choose Image go to Image Size.Deselect Resample. This will automatically lock the current ratio of Width and Height.To adjust Resolution, add new values. Photoshop will automatically change the Document Size to match.To adjust Document Size, add new values under Height and Width. Photoshop will automatically change the resolution to match.
5] Choosing the best interpolation method
Resampling of any kind, especially upsampling, can result in poorer image quality. But if you know the right interpolation method to choose (that is, the specific way Photoshop chooses the color values of new pixels), you can minimize any unwanted pixelation. The most common interpolation methods include the following:
Automatic: Photoshop chooses the resampling method based on the image type.Preserve Details: An advanced upsampling algorithm with a Noise Reduction slider.Nearest Neighbor: Best for illustrations with hard edges and no anti-aliasing.Bilinear: Adds pixels by averaging the color values of surrounding pixels.Bicubic: Produces smoother tonal gradations than Nearest Neighbor or Bilinear.Bicubic Smoother: Good for enlarging images. Designed to produce smoother results.Bicubic Sharper: Good for reducing the size of an image.
The steps below is a comprehensive way of doing the conversion for cases where Technology Preview was not enabled. You can also change the amount of Dots Per Inch (DPI). Choosing DPI tells Photoshop how many pixels you want to fit in a space in your image. When you create a new image you choose the DPI, notice the higher the DPI the larger the file size. You notice that the canvas also changes size depending on the DPI.
Open your image in Adobe Photoshop CCEdit then Preferences then Technology PreviewMake Sure Enable Preserve details 2.0 is checkedGo to Image then Image SizeMake sure to enable Resample then Preserve Details 2.0Then increase the size and resolution of the image to 300 dpi.You can also add noise to the image. If you want it with noise, take the slider to the left, and if you want totally without noise take it to the right. You can find the best balance for your image by observing the changes as you move the slider. Stop the slider when you find the best look for your image.
Read: How to change Guides Color and Style in Photoshop and Illustrator
Why is learning to convert low-resolution images to high resolution important?
Many times we take photos that are good but they may be small and we want to use them for something that requires larger and better resolution. In this case, having the skills to convert low-resolution to high-resolution is useful. Graphics designers also get images for projects from clients that are low-resolution, being able to convert them to high-resolution is important in this case.
When can you use low-resolution images?
There are cases when low-resolution images are ideal for use. Low-resolution images are ideal in cases where the image will not be used in a large format, there is a need to use less space on a hard drive. Low-resolution images are also good for cases where they will be used online, they will use less bandwidth.